Using NextAuth.js with Bison
Bison is a starter template for building Next.js web applications that we use for our clients at Echobind. Out of the box, Bison rolls its own username and password authentication implementation. One of the great things about Bison, is that you can easily swap out any of the default technology choices if you don’t agree with it or if it’s not right for the job. In this post, we will replace the default authentication with NextAuth.js.
Full source code for this example can be found here: https://github.com/echobind/bisonapp-nextauth
Create a Bison App
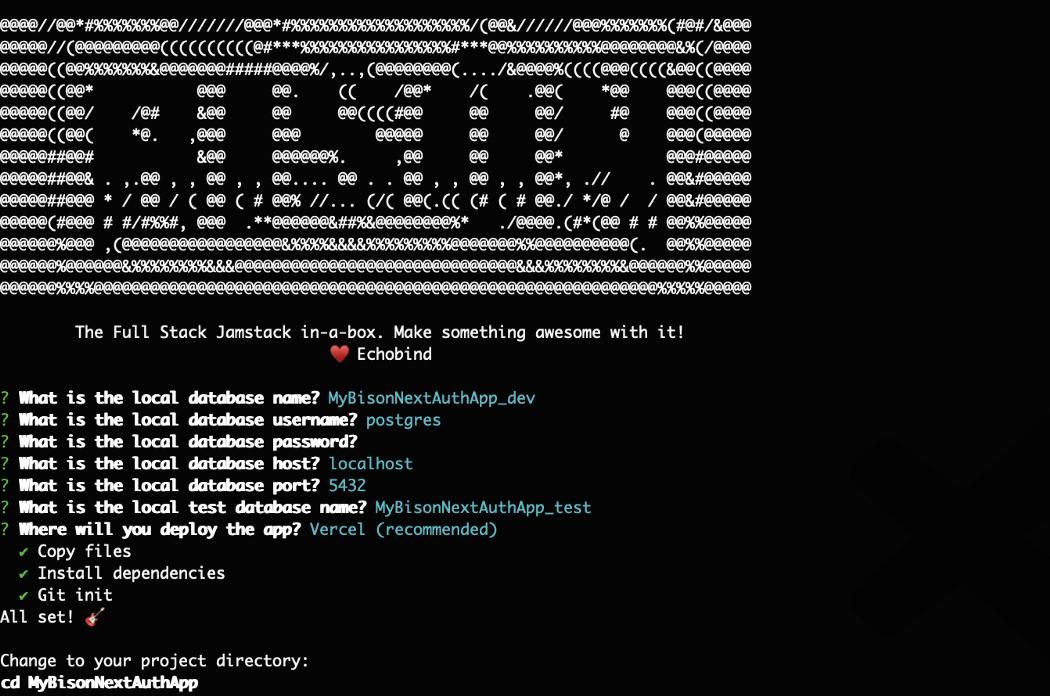
Let’s create a new Bison app by running:
npx create-bison-app MyBisonNextAuthApp
You should see the following output:
Next, we need to run the following commands to initialize the database and start the dev server:
yarn setup:dev
yarn dev
In your web browser, we should now see the initial starting point of a Bison app:
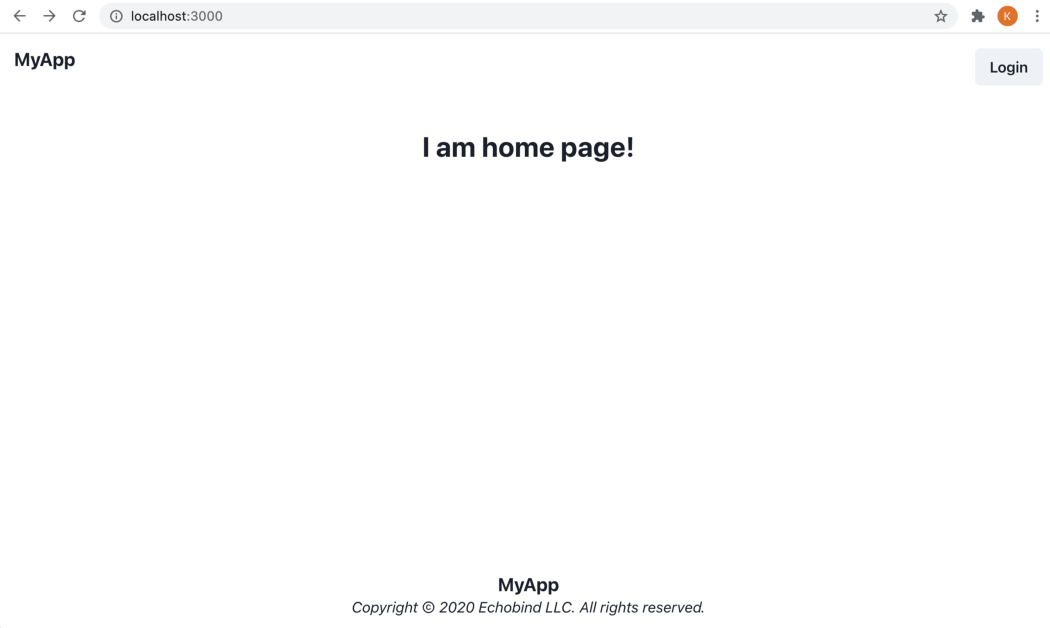
From the screenshot above, you can see there’s already a “Login” button that will take you through the default authentication flow provided by Bison. We’ll be replacing that functionality so let’s refactor out the default authentication code that will no longer be used. The following files can be deleted:
components/LoginForm.tsx
components/SignupForm.tsx
context/auth.tsx
pages/login.tsx
pages/signup.tsx
services/auth.ts
tests/unit/requests/user/login.test.tsx
tests/unit/requests/user/signup.test.tsx
tests/unit/components/LoginForm.test.tsx
tests/unit/components/SignupForm.test.tsx
Integrating NextAuth.js
NextAuth.js supports many different authentication providers such as Google, Facebook, etc. In this example, we will be using the email provider which will send a “magic link” to your email to sign in.
Install Dependencies
First, let’s install the next-auth dependency:
yarn add next-auth
While creating the Bison app, you probably noticed it requires a Postgres database and uses prisma as the ORM. So we need to install the appropriate adapter for NextAuth.js so it knows how to persist data in our database:
yarn add @next-auth/prisma-adapter
Updating the Prisma Schema
NextAuth.js requires the following schema to save users and authentication-related data such as sessions, providers, and verification requests.
// prisma/schema.prisma

datasource db {
  provider = "postgresql"
  url      = env("DATABASE_URL")
}

generator prisma_client {
  provider = "prisma-client-js"
}

model Account {
  id                 String    @id @default(cuid())
  userId             String
  providerType       String
  providerId         String
  providerAccountId  String
  refreshToken       String?
  accessToken        String?
  accessTokenExpires DateTime?
  createdAt          DateTime  @default(now())
  updatedAt          DateTime  @updatedAt
  user               User      @relation(fields: [userId], references: [id])

  @@unique([providerId, providerAccountId])
}

model Session {
  id           String   @id @default(cuid())
  userId       String
  expires      DateTime
  sessionToken String   @unique
  accessToken  String   @unique
  createdAt    DateTime @default(now())
  updatedAt    DateTime @updatedAt
  user         User     @relation(fields: [userId], references: [id])
}

model User {
  id            String    @id @default(cuid())
  name          String?
  email         String?   @unique
  emailVerified DateTime?
  image         String?
  createdAt     DateTime  @default(now())
  updatedAt     DateTime  @updatedAt
  accounts      Account[]
  sessions      Session[]
  roles         Role[]
}

model VerificationRequest {
  id         String   @id @default(cuid())
  identifier String
  token      String   @unique
  expires    DateTime
  createdAt  DateTime @default(now())
  updatedAt  DateTime @updatedAt

  @@unique([identifier, token])
}

enum Role {
  USER
  ADMIN
}
After you’ve updated the prisma schema, run the following command to generate the prisma client:
yarn build:prisma
Configuring NextAuth.js
We will create a new file, pages/api/auth/[..nextauth].ts, to configure the email provider and prisma database adapter.
// pages/api/auth/[...nextauth].ts
import NextAuth from 'next-auth';
import Providers from 'next-auth/providers';
import { PrismaAdapter } from '@next-auth/prisma-adapter';
import { prisma } from '../../../lib/prisma';
export default NextAuth({
  adapter: PrismaAdapter(prisma),
  providers: [
    Providers.Email({
      server: process.env.EMAIL_SERVER,
      from: process.env.EMAIL_FROM,
    }),
  ],
});
You’ll notice there are a couple of environment variables for sending emails that need to be added. At Echobind, SendGrid is our go-to email service. We won’t go in-depth about email services in this post, but after creating a SendGrid account, verifying a domain or specific email address, and creating an API key, you can start sending emails.
// .env
EMAIL_SERVER="smtp://apikey:YOUR_API_KEY@smtp.sendgrid.net:587"
EMAIL_FROM="sender@example.com"
Checking For Authenticated User Client Side
Bison uses a different “layout” component depending on whether a user is logged in or not. This is controlled in pages/_app.tsx. To determine if a user is logged in, we will use the useSession() react hook provided by NextAuth.js.
// pages/_app.tsx
function AppWithAuth({ children }) {
  const [session] = useSession();
return session ? (
    <LoggedInLayout>{children}</LoggedInLayout>
  ) : (
    <LoggedOutLayout>{children}</LoggedOutLayout>
  );
}
We also need to update the click handler for the “Login” and “Logout” buttons to use the new sign-in flow by updating them to call the signIn() and signOut() methods respectively from NextAuth.js.
In layouts/LoggedIn.tsx, we can update the "Login" button to have the following onClick handler:
// layouts/LoggedIn.tsx
<Button onClick={() => signIn()}>
  Login
</Button>
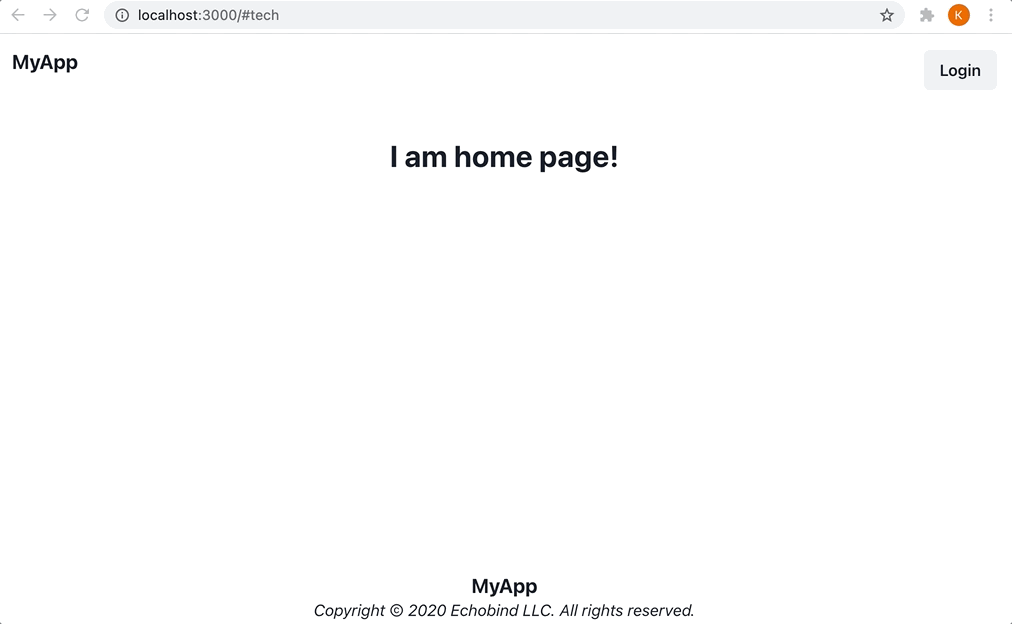
Now, if we click the login button, it should navigate to the default login form provided by NextAuth.js:
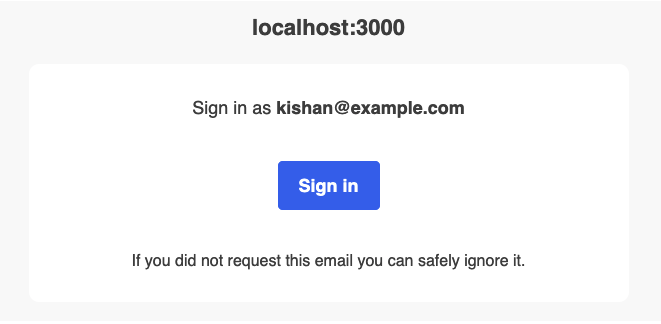
When the form is submitted, it will send the following email containing the “magic link” to the email address that was entered:
In layouts/LoggedOut.tsx, we can update the "Logout" button to have the following onClick handler:
// layouts/LoggedOut.tsx
<Button onClick={() => signOut()}>
  Logout
</Button>
Checking For Authenticated User Server Side
Bison uses a GraphQL API. For each request, using the session, we need to query for the user and set it in the context object that will be passed to the GraphQL resolvers.
// graphql/context.ts
export async function createContext(context: ApolloApiContext): Promise<Context> {
  const session = await getSession({ req: context.req });
  let user: User | null = null;
if (session) {
    const sessionWithUser = await prisma.session.findUnique({
      where: { accessToken: session.accessToken as string },
      include: {
        user: true,
      },
    });
user = sessionWithUser?.user;
  }
return {
    db: prisma,
    prisma,
    user,
  };
}
Additional Resources
Want to learn more about NextAuth.js? Check out Mike Cavaliere’s three-part series starting with NextAuth.js Intro [1 of 3]: One-Click Signup.
Do you have opinions for or against using NextAuth.js as the default authentication included in the Bison template? Upvote or leave a comment in our GitHub discussion.


