NextAuth.js Intro [1 of 3]: One-Click Signup
One-click signup using Google, Facebook, or any other existing provider is a desirable feature for most web applications, since it makes it faster and easier for people to create accounts. Integrating one-click signup with Next.js or any other isomorphic web framework can take a fair bit of work, but the fantastic [next-auth](https://next-auth.js.org/) package makes it incredibly easy and flexible.
In this article, I’ll show you how to set up one-click signup in a Next.js application via Google and GitHub, and how to easily force users to be logged in to see your content.
Full code is available here on GitHub, and an interactive demo is here on Vercel.
Part 2 of this series is here: Magic Link Email Authentication in Next.js with next-auth and PostgreSQL.
Scaffold app and add dependencies
Let's generate our app as we normally would, then add next-auth.
yarn create next-app next-auth-example
yarn add next-auth
Now we have our app scaffold; nothing surprising here if you’ve ever done this before.
Create Provider Credentials
Create an account for every provider you want users to be able to log in to your site with. I'm using Google and GitHub in this example, but next-auth supports a ton so go crazy.
From each provider, you’ll need to get an access key and secret. Those will go in your local .env file as follows:
GOOGLE_CLIENT_ID=123123123
GOOGLE_CLIENT_SECRET=abcabcabc
GITHUB_CLIENT_ID=123123
GITHUB_CLIENT_SECRET=abcabc
Later when deploying to Vercel, these will go into Vercel environment variables as well.
Configure next-auth
Ok let’s get to the code! 🎉
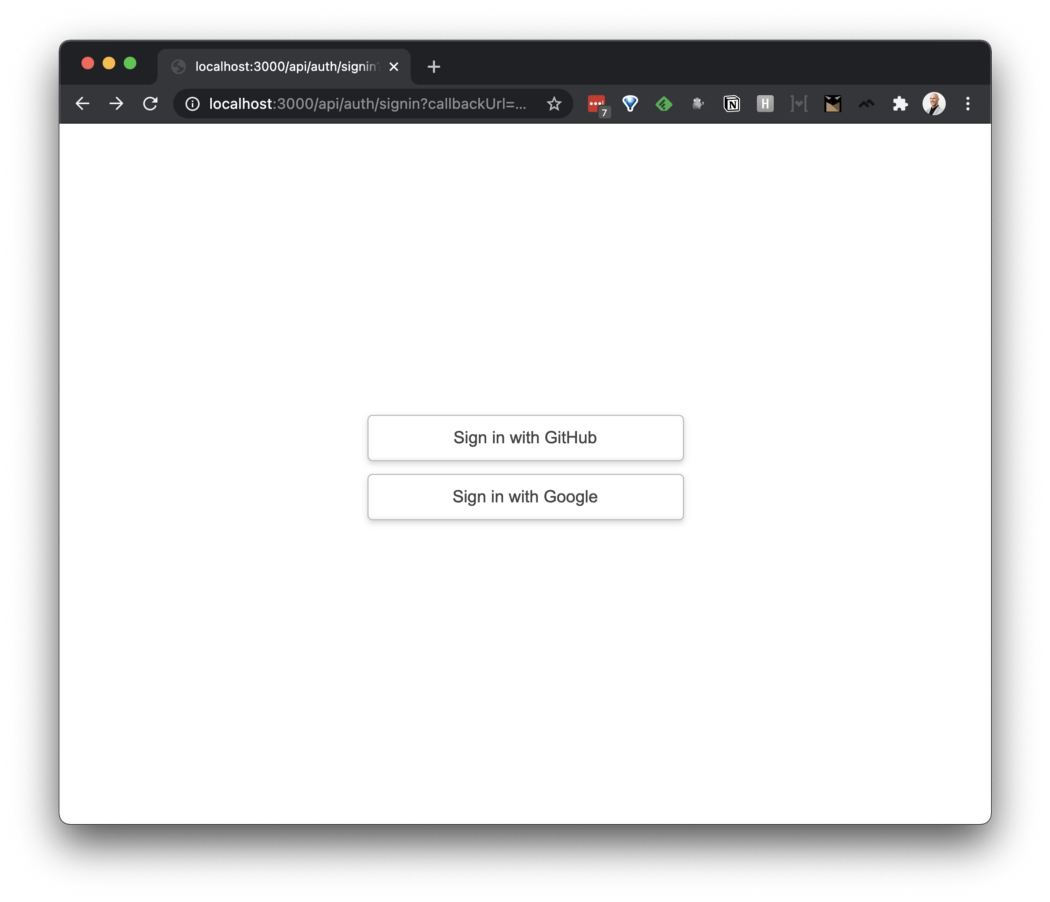
Following https://next-auth.js.org/getting-started/example, first add their route file which makes their magic integration happen. Then add any providers you want. Below I’ve added Google and GitHub.
import NextAuth from 'next-auth';
import Providers from 'next-auth/providers';

const options = {
  // Configure one or more authentication providers
  providers: [
    Providers.GitHub({
      clientId: process.env.GITHUB_CLIENT_ID,
      clientSecret: process.env.GITHUB_CLIENT_SECRET,
    }),
    Providers.Google({
      clientId: process.env.GOOGLE_CLIENT_ID,
      clientSecret: process.env.GOOGLE_CLIENT_SECRET,
    }),
  ],

  pages: {
    signIn: '/auth/signIn',
  },

  // A database is optional, but required to persist accounts in a database
  // database: process.env.DATABASE_URL,
};

export default (req, res) => NextAuth(req, res, options);
Add session and theme to application state
Now we'll add the next-auth session state to our _app.js so that it's available everywhere via the useSession hook. We'll also add Chakra's theme information to the application in the same manner, so we can style everything pretty easily.
import { Provider } from 'next-auth/client';

function MyApp({ Component, pageProps }) {
  return (
    <Provider session={pageProps.session}>
      <Component {...pageProps} />
    </Provider>
  );
}

export default MyApp;
One last .env variable
next-auth also requires the NEXTAUTH_URL environment variable for some functionality, so your .env file should now look something like this.
GOOGLE_CLIENT_ID=123123123
GOOGLE_CLIENT_SECRET=abcabcabc
GITHUB_CLIENT_ID=123123
GITHUB_CLIENT_SECRET=abcabc
NEXTAUTH_URL=http://localhost:3000
Add authentication!
Now that the setup is complete, let’s give people the ability to sign in and sign out.
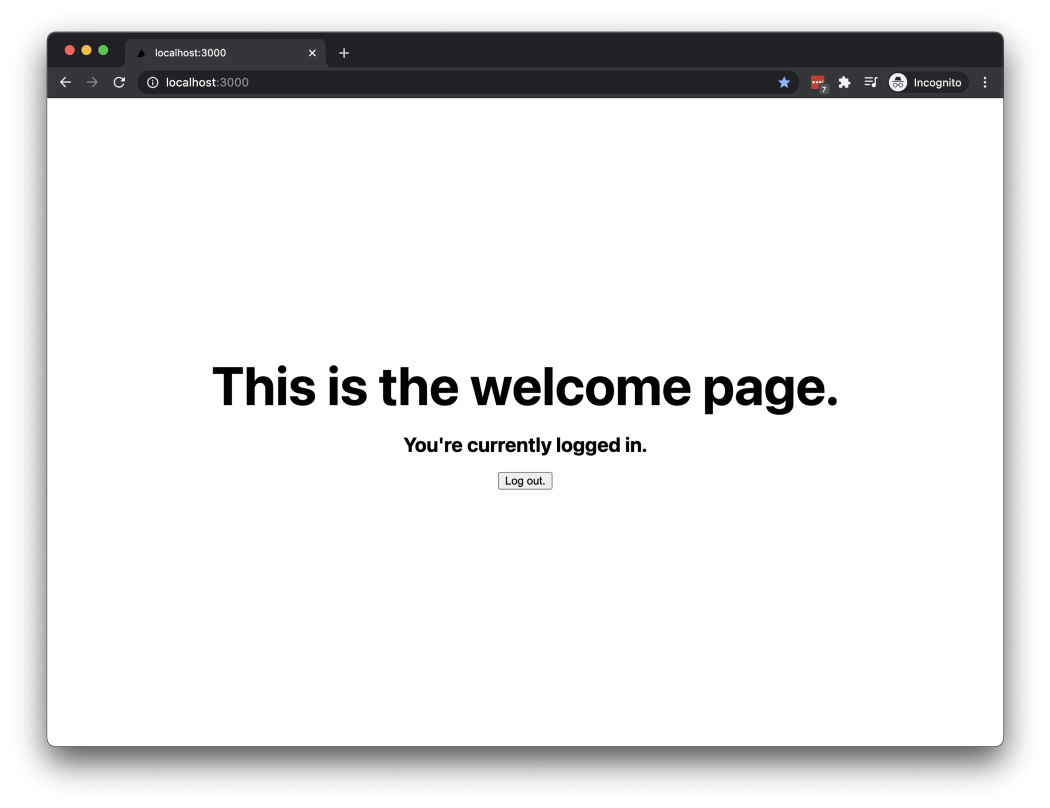
Our index.js will now look like this:
import styles from '../styles/Home.module.css';
import { useSession, signIn, signOut } from 'next-auth/client';

export default function Home() {
  const [session] = useSession();

  return (
    <div className={styles.container}>
      <main className={styles.main}>
        <h1 className={styles.title}>This is the welcome page.</h1>

        <h2>You're currently {session ? 'logged in.' : 'logged out.'}</h2>

        {session ? (
          <button onClick={signOut}>Log out.</button>
        ) : (
          <button onClick={signIn}>Log in.</button>
        )}
      </main>
    </div>
  );
}
Here are the notable pieces:
First we call the useSession hook to determine login status.
The next-auth useSession hook is multi-purpose. By returning an object in the session variable (and not a falsy value), it tells us whether the person is logged in or logged out respectively. It can also return a second loading boolean to tell us whether it's currently checking session status; we're not doing it in this example, but that's useful if you want to show a loading spinner while it's checking.
Then we add the Log in and Log out links that trigger the default signIn and signOut functions provided by next-auth. Now we've got basic one-click login functionality already. 🎉


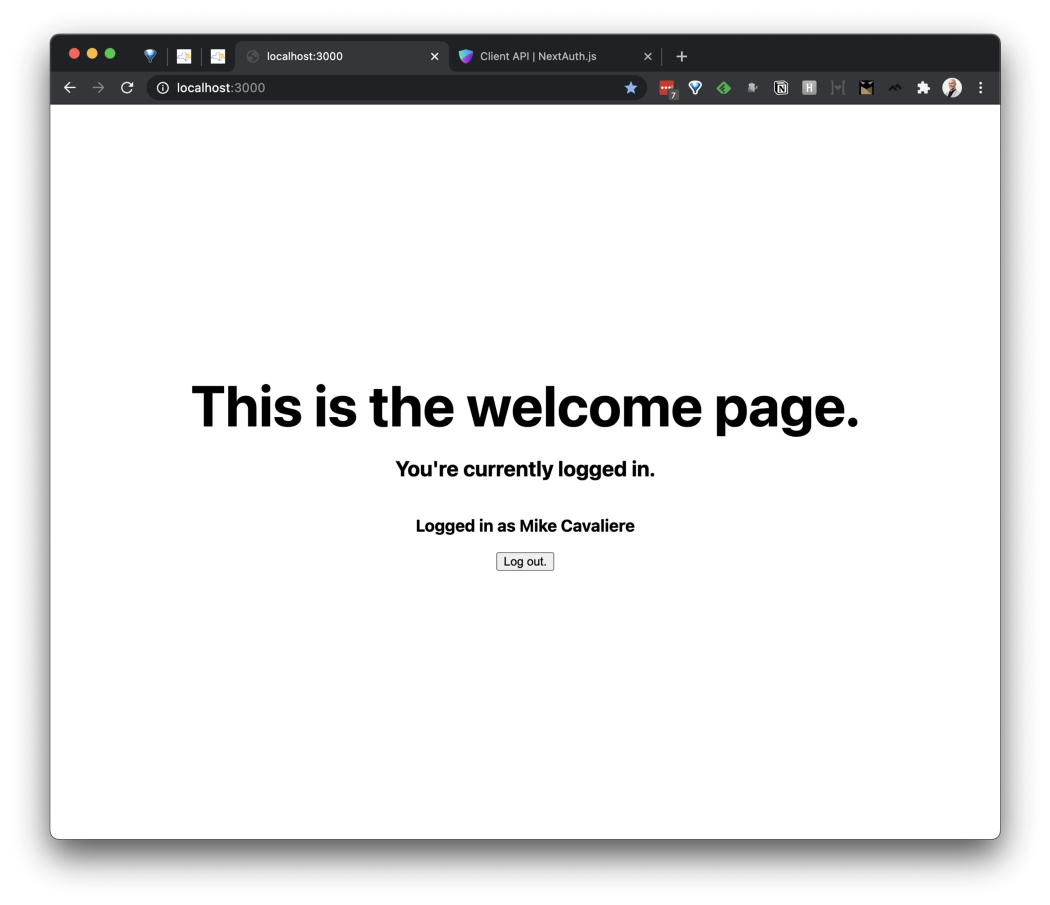
The other purpose of useSession is getting information about the logged-in user. If session exists, it'll have user information inside of it. So if we add this line to the index.js page:
{session && session.user && <h3>Logged in as {session.user.name}</h3>}
We’ll now be able to display the user’s name when they’re logged in:

That’s it. In a matter of minutes you were able to allow a user to create an account on your site with a few clicks.
Here’s some even better news: next-auth can do a lot more. In subsequent articles we’ll talk about how to control access to private information, allow signing up via email with a magic link, mashup Google profile info with your app’s custom data, and more.
Now, check out Part 2: Magic Link Email Authentication in Next.js with next-auth and PostgreSQL.


