Developing an Independent Watch App
As an iOS developer, I’ve built or worked on many iOS apps, and even a few Android phone apps 🤫, but have never ventured into the tiny screen world of watch or wearable development. Recently I’ve started exploring and learning SwiftUI, which is quickly gaining traction in the Apple development community, (read my previous article to help you decide if it’s time to learn), and decided I should also add watch/wearable development to my mobile development skills. For my introduction project, I decided to mix both new technologies, SwiftUI and watchOS, because why not 😆, and build a watchOS independent app with SwiftUI for the interface. The following are lessons learned and my overall experience on the project.
Independence for the apps!
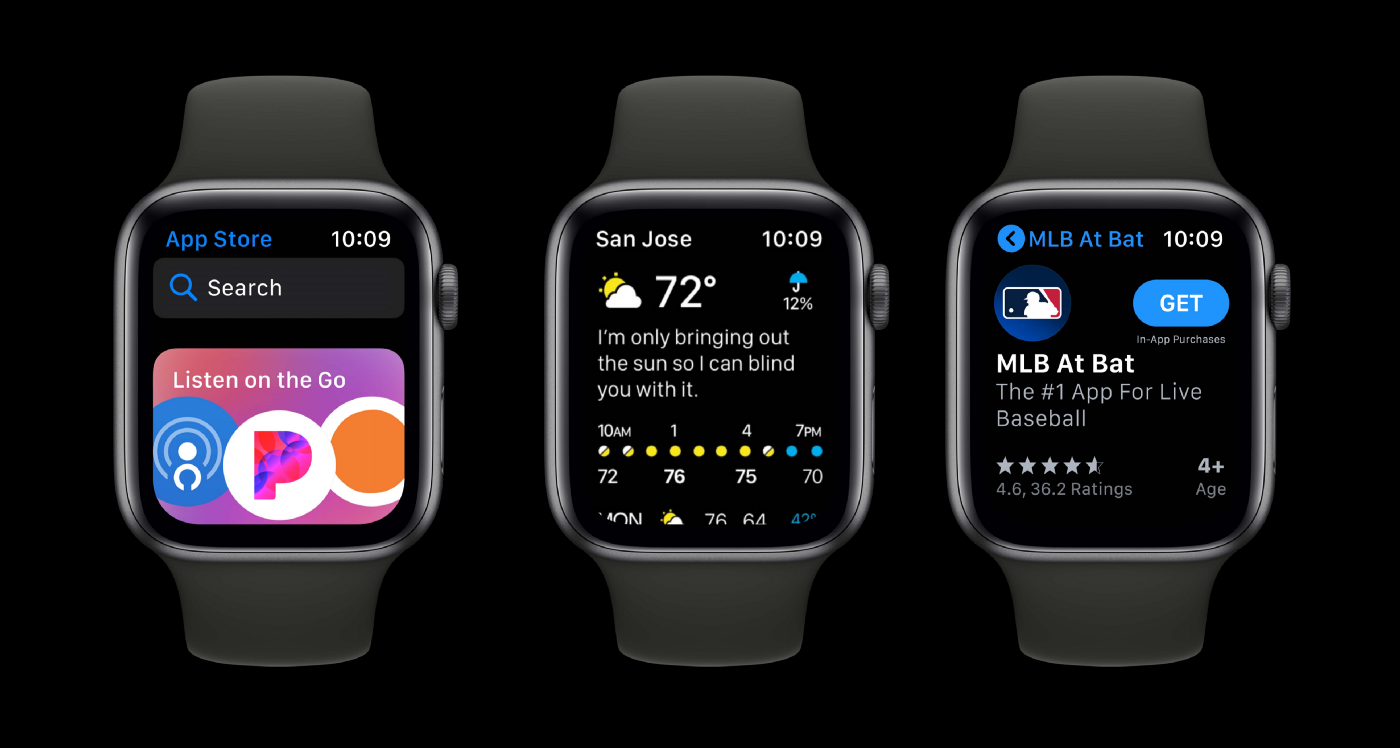
With the release of watchOS 6 in 2019, Apple enabled developers to create independent apps for the Apple Watch. Before watchOS 6, all watch apps were dependent on an iOS companion app, installed on the paired iPhone. A dependent app relies on the iPhone companion app for its data and settings. While a dependent app can and should be able to provide useful information without its companion iPhone app, the watch app is built to rely on the iPhone app in order to be fully useful. Independent apps, on the other hand, can be installed without a companion iPhone app, from the watch’s App Store app. Independent apps are able to perform tasks like downloading data, setting up the user’s account and configuring the app, as well as receiving notifications sent directly to the watch. For this project, I decided to build an independent app, Apple seems to be directing developers in this direction. I also thought it would be less coding, since I wouldn’t need to build a companion app. Remember less coding is fine if you’re delivering value to your client (or employer) sooner.
🤔 How cold will it be at 3 am?
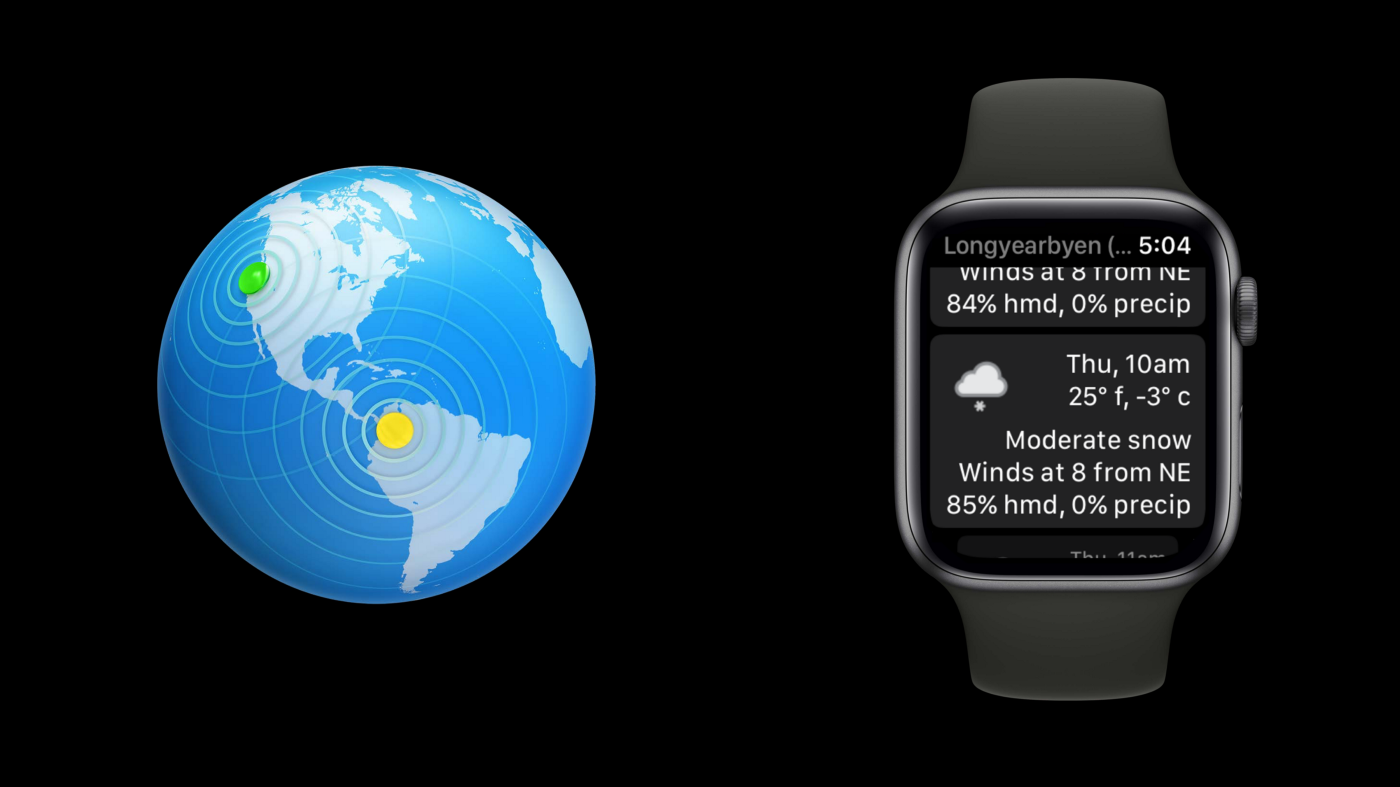
The app I built is a simple hourly weather forecast app. The API used is Weather API, a robust set of APIs that offers up to 14 days of weather forecasts, weather history back to 2010, real-time weather, weather alerts, astronomy, search and sports. In case you’re as curious as I was, the Sports API allows a user to get a list of all upcoming sporting events for football ⚽️, cricket and golf, for the UK. Maybe this was a 20% project, maybe it’s because the company is based in the UK, but if it updates in near real-time, it could be used in a sports app to check for weather delays or cancelations. The API offers a free tier with up to one million calls per month included and several other affordable tiers with expanded features and more included calls.
The app itself is simply a scrolling list of forecasts, for each hour, for the next three days. If you tap on one of the rows, you’ll navigate to a detail view showing more details for that hour. Most of the data provided by the API come in imperial and metric format, I provide both for every data point available in the detail view and both for temperature in the initial list. This came out of a development decision I made mid-way through. Knowing I had the metric data, I considered creating a setting view for the user to pick metric or imperial, as well as other settings. I decided rather than add more controls to the views, then needing to “teach” the user that settings were available, I would simply show both values. Within Apple’s Human Interface Guidelines, they state: “Organize text, images, and controls so people can quickly and easily find the information they need and perform actions. Streamline user interactions by creating focused, space-efficient interfaces.” To go further with simplifying the experience and UI they state: “Prefer a plain black background.” Apple wants you to keep the experience simple and efficient, making sure the data provided is first and foremost for the user. By skipping the settings view, the user will only have to work with two views to get the information they came to the app for and it’s now accessible to all users worldwide, as long as they read English. 🤦♂️
The good…
Building an app for the watch wasn’t actually much different from building an iPhone or iPad app. Using SwiftUI really made the layout easier since it’s a declarative UI framework and I just had to tell it what to show, leaving how to show it up to the device. The code I wrote should be 100% portable to an iOS device. I did set some of the text layout to work better on a small screen, so it would look awkward on an iPad, but as far as compiling, I’m confident it would build and load fine on any other iOS device. As part of Swift and SwiftUI’s move to add more concurrency, I was able to use a new struct, new for watchOS 8 and iOS 15, AsyncImage, which allowed me to, with very little code, specify a URL for the image I wanted and a placeholder image to use until the requested image was downloaded. In the past, I would have written a service to call that would then utilize network code to fetch and return images.
Here’s the new code:
AsyncImage(url: URL(string: "<https://cdn.weatherapi.com/weather/64x64/day/113.png>")) { image in
    image.resizable()
} placeholder: {
    Image("sunny")
}
.frame(width: 50, height: 50)
And the struggles
The development of this app was not all peaches and cream, I hit a roadblock when trying to change, as the user, my Location sharing preference. The app does need the ability to determine the user’s location, to either get the zip code for US locations or latitude and longitude for locations outside of the US. For watch apps with a companion app, the location sharing preference can be changed in the app’s own settings, within the phone’s Settings app. For an independent app, you still have to use the paired iPhone, but you have to dig a bit more. Open the Settings app, scroll down and tap Privacy, then tap Location Services, then find the watch app in the list of apps, select it and then change the setting. In the Settings app on the watch, you can navigate to the same location, but you can’t change the selected option because all options are grayed out. 🤯

Test, test, then test again
When testing the app, running it on an actual Apple Watch was critical. Early in development, I tested with a simulator and expanded the size of it on screen so I could easily see everything. When I ran it on my device for the first time, the font was so small I could barely read it! I had to take some extra time, rework my layout and increase the font size, right up to the standard system font size. Running on a real device will also give you a sense of how long each step takes and what your user’s experience will be like. The API call for the weather API takes usually 1–2 seconds, just long enough that you’re left wondering if the app is still running. An on-screen activity indicator, in such situations, would give the user some confidence that the app hasn’t crashed. Finally when testing on an actual device, you get the true feel of the software. Are your buttons and other touch targets too small, hard to reach, not in a place that makes much sense? Your users will not be using these apps with mice and keyboards, but with their hands and fingers, so use your hands and fingers to test your apps to know if the experience makes sense and is enjoyable to use. ☝️
With this project, I grew my own skills a bit with watchOS, SwiftUI and the Apple Watch itself. I gained more confidence with SwiftUI, learning that I can create a layout for something as small as a watch and it can also build and compile for a device like an iPad Pro. When I build iOS apps in the future, I’ll follow the Apple guidelines and consider not a companion watch app, but an independent watch app that can provide similar features on the watch, exchange data with the phone through iCloud, and give the user the opportunity to choose between installing one or both apps, depending on their own needs. ⌚️
What has been your experience with watchOS and even SwiftUI development? Let’s continue the conversation below in the comments, I look forward to reading about your experience! 💬


